Step 1:
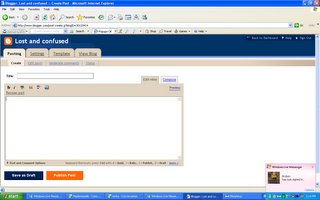
Click on create post. The image below is what your screen should look like.

Step 2:
Click on the of the icons above the text box that looks like a tiny image of a mountain against a blue sky. If you float the cursor on it, u will get a small info text box stating "add image". The attached pic below shows what it looks like.

Step 3:
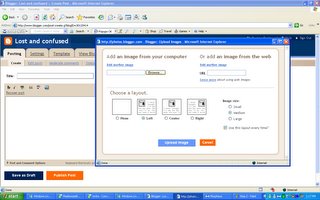
Select the image that you want to upload. The instructions are clear. If you want to upload more than one image at a time, there is an option "Add Another Image" which increases the number of image selections. Again pic to show what it looks like.

Step 4:
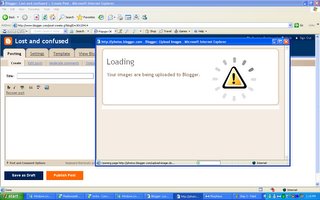
Wait while the images get uploaded. Image attached.

Step 5:
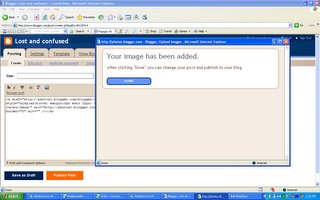
When the image has been uploaded successfully, the below will appear. Click "Done" and you are DONE. Woohoo. Notice the code in the text box of the post create. That code is the actual pic. Pic attached to show as usual.

I hope this tutorial was helpful to all.

6 m3andeen:
LOL!!!
Girl this is very nice of you! And very helpful indeed!
I'm enjoying the attention that I'm getting hehe.
Right then, desktop pic uploaded, check it out my good teacher!
Noors, lol all that time of blogging and you just knew the process of adding a pic?! >_<"
Hey, blogging-aholic :p .. those tips are very great and detailed enough ;)
Thank you :)
yala everyone give me hints as to what my text tutorial should be. LOL
How to upload pics with our nicks lol.
here you go babes. enjoy
happy attaching
http://3anooda.blogspot.com/2006/10/step-by-step-tutorial-to-adding-pics_14.html
LOL,,, nice nice
Some one just has so much free time :)
Post a Comment
leave a stubborness right here