Step 1:
Follow the steps described in my first tutorial and upload the pic that you want to add to your nick. Publish the post.
Step 2:
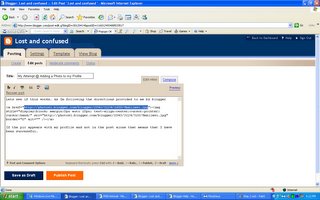
Go back to you post as if meaning to edit it and click on the "Edit Html" tab. You will see the code for the pic that you had just published. Select the URL that describes the image that you have already posted such as the photo attached. (NB. Ensure that the URL begins with http and ends with .jpg)
Step 3:
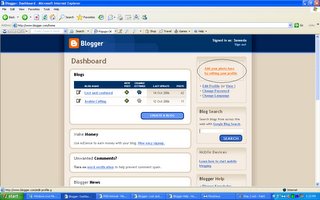
Go back to the dashboard and click on the "Add Your Photo Here By Editing Your Profile" box in the top right hand corner such as the pic attached.
Step 4:
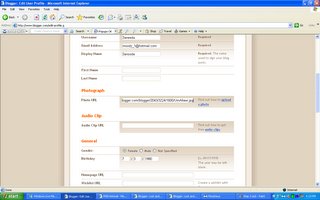
Scroll down till you reach the "Photograph" section and paste the URL that you had copied earlier from your post into that space such as the pic attached below.
Step 5:
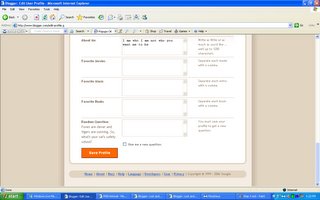
Scroll down till the end of the page and click on the "Save Profile" button as the pic attached.
Step 6:
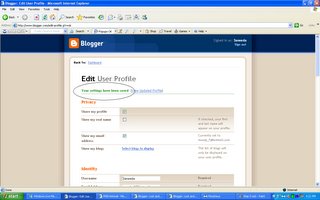
Wait until the page refreshes and you get the message "Your settings have been saved" on the top of the page as the page attached.
Step 7:
Come back to this post and type a "test" commen. When successful, then type another comment expressing your happiness that you now have a pic attached to your comments. LOL
(Noors - Bonus hint: Before pasting the PrntScrn into the mspaint document, make the white empty box as small as possible just the same was as u make a normal window smaller in order to avoid the extra white bits like your screensaver pics)

5 m3andeen:
LOL,,, freegblog koholic..
is now a teacher!!!
yet still interesting
Wow!
I feel special!
People are giving me attention!! lol
Thanks girl :)
afa 3alaich ya bnaya, inti tidalalay bas
Hmmm, right, I knew all the steps except for the first bit. Didn't know how to get the URL, but now I do.
And yeah, I noticed the white extra area after I posted the pic. So I'll be careful this time!
Wait for it girl!
looking forward to the pic u will be putting up.
Post a Comment
leave a stubborness right here